GHL Smart Reviews
Getting Started
Getting Started
Over the course of the next few videos I'm going to walk you step-by-step through setting up and customizing your GHL Smart Reviews snapshot, so you can deploy it out to your account, and your sub accounts, and start onboarding your own clients into your agency.
If you have any questions, reach out on Facebook, send an email to Support@ghlsmartreviews.com Or join the Facebook Group where we'll all be working together to help each other out to grow our GHL agencies and businesses.
Join the slack support channel below:
https://join.slack.com/t/ghlpowertools/shared_invite/zt-2ooecf3hv-a1Vo7yS5kna3mSmcjxUv3A
You can join the group here: https://www.facebook.com/groups/ghlsmartreviews
In this video we give you a 10,000 foot overview of all of the pieces of our review and referral system.
Setting Up Your Accounts with the New Agency Dashboard
If you use the new Agency Dashboard to set up your accounts, you won't need to copy and paste URLs and values into the custom values, as our new SMART Dashboard will handle that for you.
Once you add the link from your email to the custom links in your agency settings, follow the steps on that page to complete the rest of your dashboard setup.
Step-by-Step Instructions
Step 1: Add the Custom Link to Your Account
- This is the link you received in your initial email.
- Make sure to highlight and copy the URL text—do not copy the link address.
- The URL should look like this:
https://reviews.ghlsmartscripts.com/home.php?licensekey=XXXXXXX-XXXXX-XXXXX
(where XXXXXX-XXXXX-XXXXX is your key.)
Step 2: Add Your Agency Name & Login URL
- If you're using
https://app.gohighlevel.comto access your CRM, use that URL. - If you have set up a white label domain to access your CRM, use that instead (e.g.,
https://app.yourdomain.com).
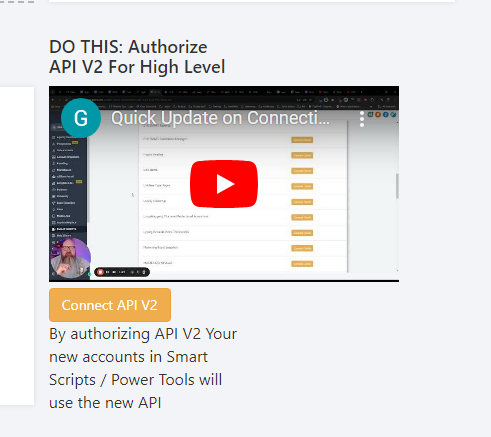
Step 3: Connect API V2
- Click on the dashboard to connect.

Full Account Setup from Start to Finish
NEW VIDEO COMING SOON
Account Setup Checklist
Reviews Set-up Checklist - Sept. 1st, 2021
THINGS YOU NEED TO START
-
The Latest Snapshot
(Grab from the back office) -
Social Media Graphic
- Size: 1200 x 630
- Canva Link
-
Your Client's Referral Offer
(Example: 25% off your next visit, $100 gift card, Free vacation) -
Your Client's Offer for New Customers
(Example: 25% off your first visit) -
Referral Offer Conditions
(Example: Get 25% off your next visit when you refer a friend who books and signs up for our services, or spends more than $100.) -
Their Sending Email Address
- (Email address usually set up with a custom domain in High Level)
(Example: clientname@m.yourdomain.com)
- (Email address usually set up with a custom domain in High Level)
-
Their From Name
- (Can be the business name)
-
Email for Notifications
- (The email where your client wants to receive notifications)
-
Domain for Account Setup
- (Typically use subdomains; Example: https://client.ourdomain.com)
QUICK CHECKLIST
-
Add Snapshot to Account
- Download Snapshot from Power Tools / Smart Scripts Backend.
-
Add Sub Account to Reviews
- Go to Smart Apps - Reviews.
-
Set up Domain or Subdomain for the Account
- Add full domain URL to custom values.
-
Select Reviews Landing Page
- Set as the default page for that domain.
-
Add Domain to Each Funnel in Review System
- Reviews
- Referrals
- Offer Capture Page
-
Collect Review Sites from Client
- Yelp
- Other
-
Get Email & Name from Client
- For sending emails.
-
Get Email Address for Internal Notifications
-
Create Social Media Graphics
-
Update Referral Offer Claim Funnel Page
- Click edit, then click save to ensure SEO data is loaded.
-
Create Referral Offer Verbiage for Current Client
-
Create New Customer Offer Text
-
Create Referral Conditions Text
-
Update Custom Values
- Using the Back Office Custom Values Updater or by updating in: Settings → Custom Values.
- Add Yourself as a Contact
- Test the reviews system using the Request A Review form found at:
https://yourdomain.com/add-review-request
(Change yourdomain.com to the domain or subdomain you set for your customer’s account.)
- Go to Your Funnel
- Client’s Location → Funnels → Reviews → Add Review Request - Give to Clients → Open URL.